

Compact bathroom layouts
Compact bathroom layouts are an essential topic for homeowners and designers who need to make the most of limited space while keeping style and function at the forefront. Whether you live in a small apartment a townhouse or a tiny home a smart compact layout can transform a cramped room into a calm and efficient retreat. This guide covers core design principles practical layout types storage ideas lighting tactics and planning pointers so you can create a bathroom that feels bigger than it is.
Why compact bathroom layouts matter
A compact bathroom layout does more than fit fixtures into a small footprint. It improves daily routines reduces stress and can add value to a property when executed well. In tight spaces each decision about fixture placement surface finish and storage method affects how easy the room is to use. Carefully planned layouts can also reduce renovation cost by limiting plumbing moves and maximizing existing utility connections which keeps projects on time and on budget.
Core principles for smart compact bathroom design
Function first
Prioritize the essentials for the people who will use the room. If you need both a shower and a tub consider if a shower alone will meet daily needs and free up room for storage or a larger vanity.
Scale and proportion
Choose fixtures that match the scale of the room. A narrow vanity or a compact sink frees floor space without sacrificing function. Wall hung fixtures create a feeling of openness by exposing more floor area.
Clear circulation
Plan for a clear path from the door to each primary fixture. Even in small rooms a minimum clear zone improves safety and comfort. Think about door swing and consider a pocket door if the layout allows it.
Visual expansion
Light colors reflective surfaces and large mirrors make walls recede. Floor to ceiling tile use vertical grout lines in moderation and continuous flooring that runs through adjacent rooms can make the space feel larger.
Lighting
Layer lighting with bright general light task light at the mirror and softer ambient light for evening use. Daylight is ideal so maximize window size where privacy and layout permit.
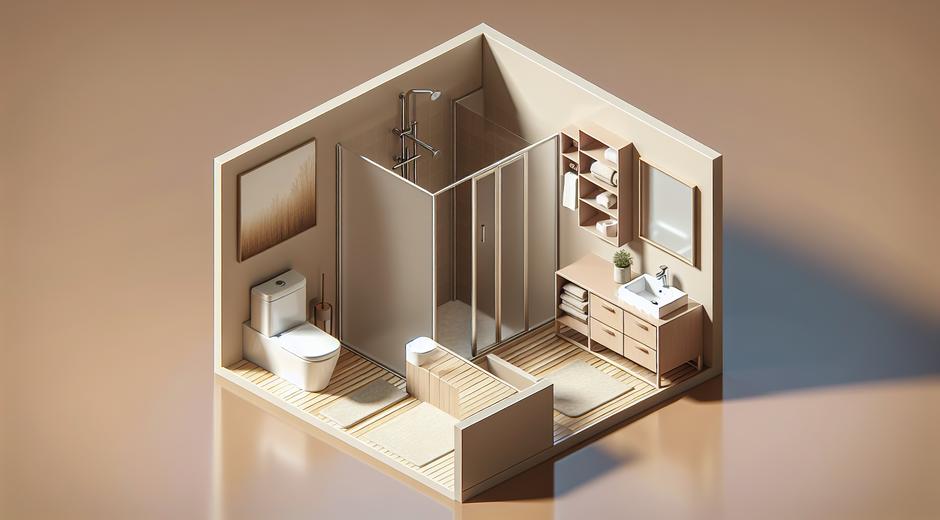
Compact layout types to consider
Single wall layout
All fixtures line up on one wall ideal for narrow rooms and for efficient plumbing consolidation. Use a shallow vanity and a corner shower to keep clear floor space.
Corner layout
A corner shower or corner sink uses unused space for key functions and frees the main wall for storage or a toilet. Corner fixtures work well in irregular spaces.
Wet room concept
A walk in shower area shared with the rest of the room eliminates the need for a separate shower enclosure. With proper waterproofing and drainage a wet room can create a luxurious feeling in a small footprint. Note that planning and waterproofing must meet building codes.
Split layout
Place the toilet separate from the shower and sink if possible. A partition wall or frosted glass can separate zones without closing the room. This is useful when multiple people use the bathroom at different times.
Stacked fixtures
Use tall narrow storage units above the toilet or a recessed cabinet in the wall for hidden storage. Stacking vertically uses height not floor area and keeps essentials within easy reach.
Space saving fixture choices
Slimline vanity
A narrow vanity with built in storage balances sink size and counter room. Choose drawers for easier access to small items.
Wall hung toilet
A wall hung toilet saves floor area and makes cleaning easier. It provides a lighter visual weight than a floor mounted model.
Compact shower trays
Shower trays can be rectangular quadrant or square. Opt for a tray that fits the room flow and choose a glass screen to keep sight lines open.
Small footprint tub
If a tub is non negotiable choose a shorter deep model that allows soaking without taking up full length. These are ideal for small bedrooms that need bath time without losing floor space.
Recessed shelving
Recess niches into shower walls to hold soap and bottles. Recessed medicine cabinets add storage without adding bulk.
Storage strategies for compact bathrooms
Think vertical
Tall storage towers and open shelving above the door use vertical space. Keep daily use items at eye level and seasonal or less used items higher up.
Dual purpose
Use mirrors that open into medicine cabinets and vanities with integrated laundry baskets or waste bins. Storage that pulls double duty cuts clutter.
Open and closed balance
Open shelving keeps essential items accessible and decorative while closed storage hides clutter. Use baskets and boxes in open shelves to maintain a tidy look.
Hooks and rails
Hooks behind the door and rails on the wall keep towels and robes off the floor. A heated towel rail adds luxury and dries textiles quickly.
Hidden corners
Corner shelves and triangular units that fit into unused corners make micro storage without blocking movement.
Color materials and finish tips
Light tones and reflective finishes create a sense of space. Glossy tiles reflect light while matte finishes conceal fingerprints. Use a restrained palette to avoid visual clutter. Large format tiles mean fewer grout lines and a cleaner look that makes surfaces feel more continuous. Wood tones add warmth while stone or concrete surfaces deliver modern texture. Choose materials that are low maintenance for a long lasting finish.
Lighting ventilation and comfort
Natural light adds the biggest sense of space so maximize window size even if privacy film or frosted glass is required. For artificial light combine ceiling mounted general light with LED strips under cabinets and sconces at mirror height for even face illumination. Ventilation is critical to prevent moisture build up and mold. Choose an extractor fan sized to the room volume and consider a humidity sensor for automatic control.
Accessibility and future proofing
Designing for current needs while allowing for future changes is wise. A walk in threshold free shower is easier to adapt for aging in place. Leave room for grab bars that can be added later. Standardizing plumbing positions when possible reduces cost for future fixture changes.
Planning and measurement checklist
Measure door swing and mark clearances for each fixture
Confirm plumbing riser locations and drainage slopes
Check lighting and ventilation placement
Plan for storage above and below fixtures
Select finishes and fixtures that balance durability and price
Before starting demolition verify mounting points for wall hung fixtures and consult local building codes for ventilation plumbing and electrical requirements. A well thought out plan prevents costly surprises.
Budget friendly tips
Refresh rather than replace where possible
Refinish or paint existing tiles with modern epoxy coatings to change look at a low cost
Keep plumbing in place to avoid expensive pipe moves
Shop for close out or clearance fixtures for high quality at reduced price
Focus investment on finishes that will be seen frequently like the vanity mirror and floor
Where to learn more and find ideas
If you want curated design ideas and practical directories for fixtures and contractors visit metropropertyhomes.com for resources tailored to property owners and designers. For business oriented articles on renovation planning product sourcing and cost management check out BusinessForumHub.com which covers industry trends and supplier networks.
Final thoughts
Compact bathroom layouts demand thoughtful design but they also offer a chance to innovate. By prioritizing function using vertical space selecting the right fixtures and layering light you can create a bathroom that performs well and feels serene. Start with a clear brief for how the room will be used choose a layout that supports those needs and then refine finishes lighting and storage to deliver a cohesive result. With careful planning even the smallest bathroom can become a standout feature of your property.